Production Tour
This photo document is slightly outdated - it was later replaced with this video. If you'd like to look at the pretty photos however please read on.
If you are interested in boutique pedals, then you are almost definitely interested in what goes inside of them to make them special. Here is a brief look into what goes into making a Dazatronyx pedal:
Circuit Boards
![]()
Rather than cheaply outsourcing production of circuit boards, I take great pleasure in knowing that my pedals have old-style, in-house made boards. This adds 20% more love to the product. All of my circuits have a thoughtfully laid out traces to increase reliability and prevent unwanted noises. Though they look like they are intentionally a 'vintage' style with curved, thick, hand drawn traces, this is merely a side-effect of low-resistance paths with excellent adhesion. Earth plains are made as wide and filling as possible to minimize noise where signal paths are made as direct as possible while maintaining a decent thickness. Modern circuits are often squared and thin to look neat, however I rather functionality.
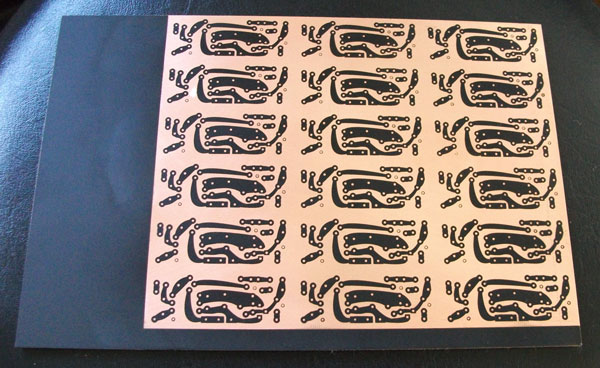
| First I will start with a blank piece of copper-plated fibreglass. This is then finely brushed back to remove any oxidization and coated with a thin mask film (black). A negative print is then lasered onto the copper at 600 x 600 dots per inch. |
|
|
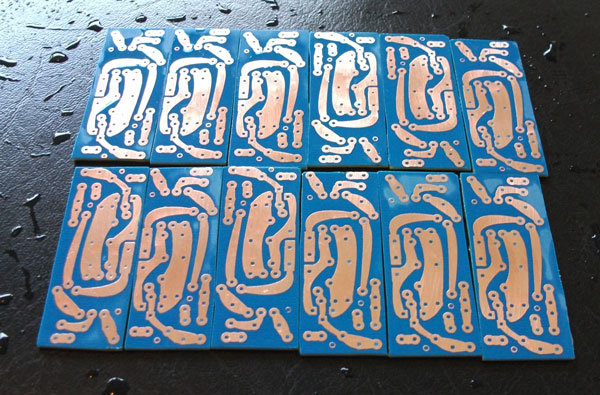
| The masked board is then submerged in a warm bubbling bath of acid. This removes any uncovered copper leaving only the desired traces. |
|
|
| The sheet is then put back into the laser to be snapped into individual boards. |
|
|
| The boards are then cut down finer by hand. |
|
|
| The mask is brushed off with fine steel wool to reveal a shiny copper board. |
|
|
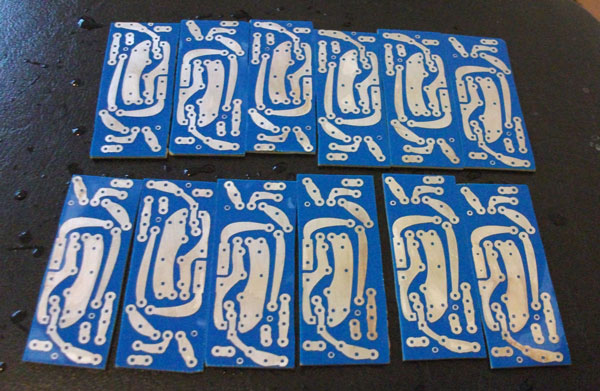
| The boards are then submerged in a tinning crystal solution suspended in water. This puts a fine layer of soft tin on the board which produces better continuity and improves the joints made to components. This also retards oxidization of the copper from being exposed to open air. |
|
|
| The boards are then drilled and populated with components. | 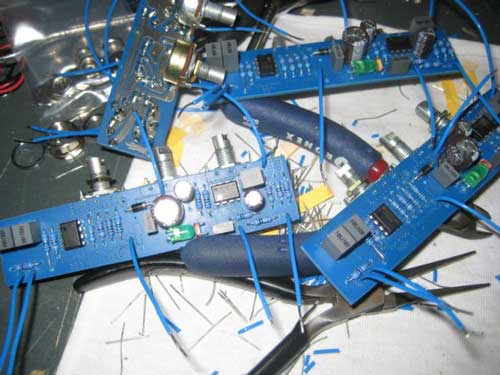 Enlarge |


Enclosure
![]()
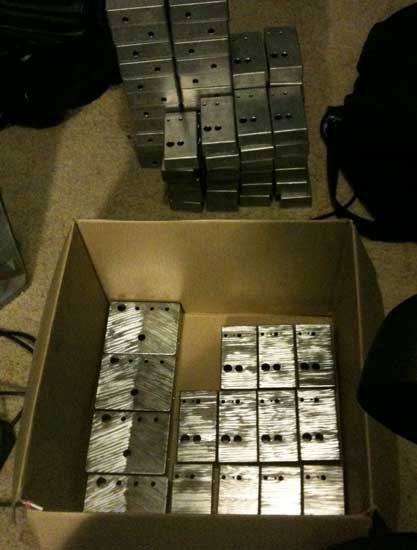
| The enclosures begin as a raw box by Hammond/Eddystone. These are an extra thick strong aluminium. A jig is used to drill the pilot holes. A progressive drill is then used to accurately expand the holes. |
|
|
| This gets a bit boring after a while... |
|
|
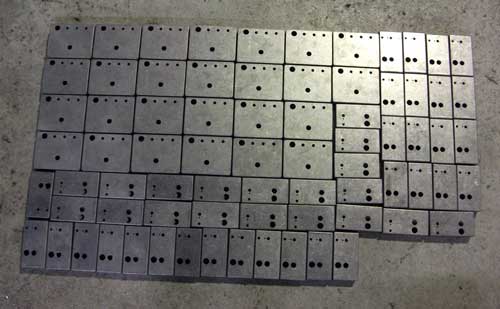
| The unique 3D pattern is then wire brushed into the enclosure. |
|
|
| They are sent off to be powder coated in a 'candy' colour. Powder coating is the only process that I outsource as this is another professional trade. | 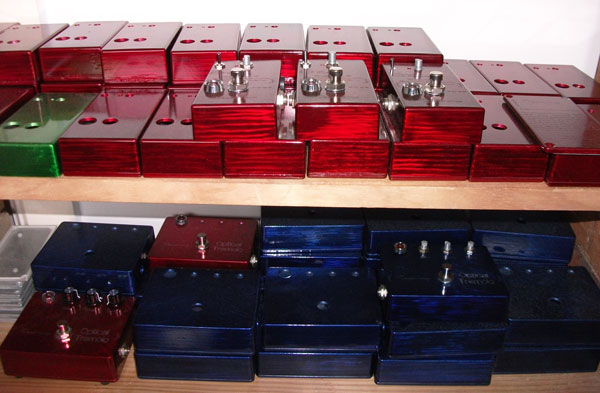 Enlarge |

Final Assembly
![]()
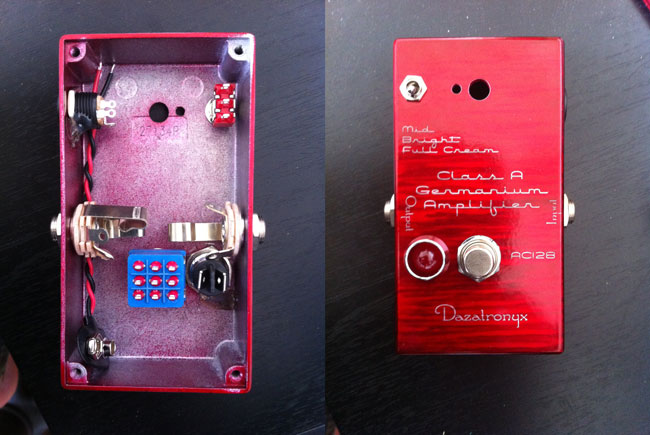
| Hardware is mounted into the enclosure. |
|
|
| The circuit board is then fitted into the enclosure and all of the hookups are made for power and audio signal. |
|
|
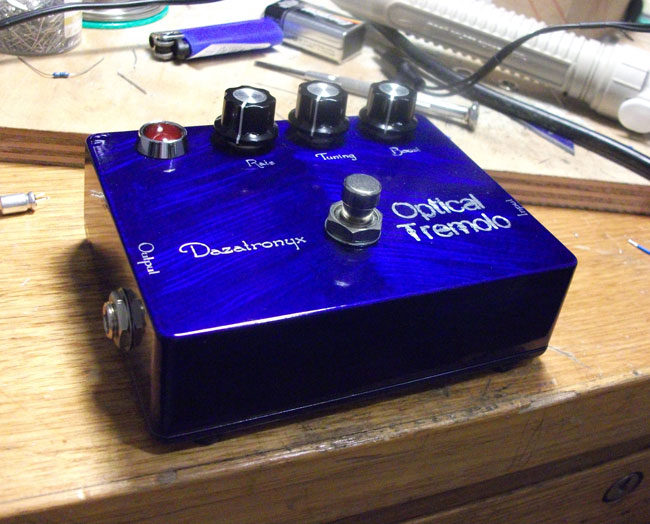
| Final assembly of a tremolo. |

![]()
Copyright © Darron Thornbury